

So I thought i'd do a little run down of a commercial bra kit giving you an idea of what might be in your bra kit and what it is for.
I found when making Harriet, I made myself some sticky notes that I labelled with each items name to remind me during the making process. Think of this as a bit of a guide.
Within this post i've run through a recent bra kit i've purchased. I know not all kits will be 100% the same but they should have some standard items to get you going on your bramaking journey. This kit is from Elise patterns

First up is Powernet - This is used as the strength fabric in your bra. Its used for the back bands and often the bridge. The places where stability is an important factor.

Lace: Stretch or Rigid - Stretch and rigid laces are pretty self explanatory, one has some stretch created by some elastane content and the other has none and is more like a conventional fabric. This lace pictured is slightly stretchy. You can choose to put lace on the top piece of a cup or the whole thing. The fabulous thing about bra making is that you can really experiment with this, but don't forget to mirror your pieces! Lace often has one or both edges scalloped so you it doesn't require any further finishing. This looks great at a neckline and you can get lace in different widths and with directional prints. We also have some rigid nylon below that can be used for lining a sheer cup.


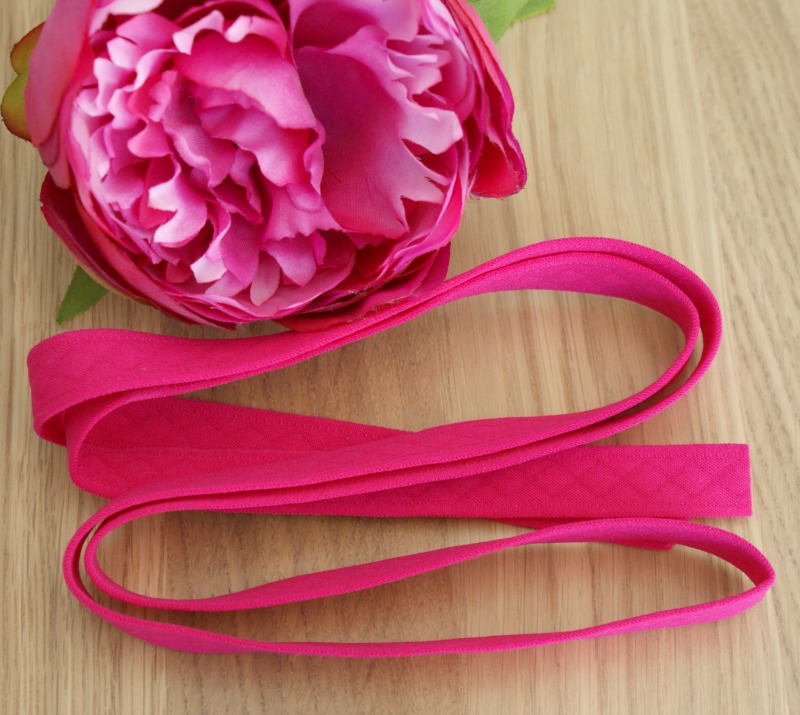
Picot elastic - Used to finish the top edge of most bras. This gets sewn along the top edge of the bra and along the top of the underarm. It has a little scalloped edge that peeks above the seam after being stitched. (Sometimes our band elastic also has Picot edges, but it should be easy to tell by the width of the elastic. The wider is used for the band.)


Bra Hooks, Rings and sliders - Last but certainly not least are the parts that hold everything together! The rings and sliders are used on the straps. The ring for the front or the back attachment of the strap to the main body of the bra and the sliders to make those straps adjustable. There is a fab tutorial from Evie La Luve of how to do this on Youtube.
The bra hooks, well we've all had to battle with these! They are your most common fastening on a traditional bra. Although now you can get some awesome front closures. I would also add underwires to this list if you so choose them. This particular kit doesn't include them but i'm sure there are others that do, finish it with a bow and you are done!


No comments:
Post a Comment
I love reading what you have to say!
Please feel free to leave me a comment...