Showing posts with label Sewalong. Show all posts

Thursday, 7 July 2011

MMJ Examined...


Sorry its taken me over a week since the end but its been busy!
I had loads of fun doing my first Me Made Month. However I wish it could have been a month where I had less going on!
With the move it was a nightmare trying to remember to get photos. Most days I did in fact wear me made but there was too much going on to get photos! This annoyed me somewhat as I was doing the challenge. Overall there were 4 days in which I didn't take photos but only a few were days I didn't wear handmade and they were right at the end on the 24th and 29th. Because we were moving stuff.

I'm pretty pleased I got through my first me made month with so much going on. There is always room for improvement!
I stuck with separates for the most part but it was fun working out all the ways you could wear the stuff you make. I have to admit my Pippa skirt and top came in handy, as did my Sunny, Funny Girl top and my Etta Cardigan.
I was surprised I didn't wear my Joan dress the whole way through. Its comfortable but I think it is a bit dressy unless you work in an office.
I found myself gravitating towards the Jersey fabrics in my wardrobe for comfort. My Autumn top in viscose jersey was a particular favorite and my Etta cardi is bobbling from all the wear it gets!
This challenge also encouraged me to re-fashion a few bits so I had more to wear. The parisian dress was chopped into a much more useful and more importantly, wearable skirt and has become one of the nicest things in my wardrobe!
My making dwindled a little in June. I only managed 2 items and a refashion but I have countless UFO's that I started before June for this challenge. Sadly these got left in the dust but now were settling, hopefully I can finish off most of those. I haven't even blogged about the top/dress that I wore to the blogger meetup. I will catch up when I've shortened it. But its a viscose jersey remnant and its a lovely print. (Day 26)
We finished off with the Sewalong Palooza reveal! I called mine Igraine after Arthur's mother in Camelot as it has that medieval vibe with the neckline and sleeves.
Hope everyone got through MMJ unscathed! I am working on plans for Autumn sewing at the moment. EEK!
Now to go finish those UFO's...

Tuesday, 28 June 2011

Sewalong Palooza The Final Post...

Morning!
I had a thought about those sleeves. The technique is identical on the ruffles for the tunic as it is for putting the sleeves in.
Except you gather all around and hem the raw edge! No more tutorial needed!
I have some photos here just in case you need some visual.
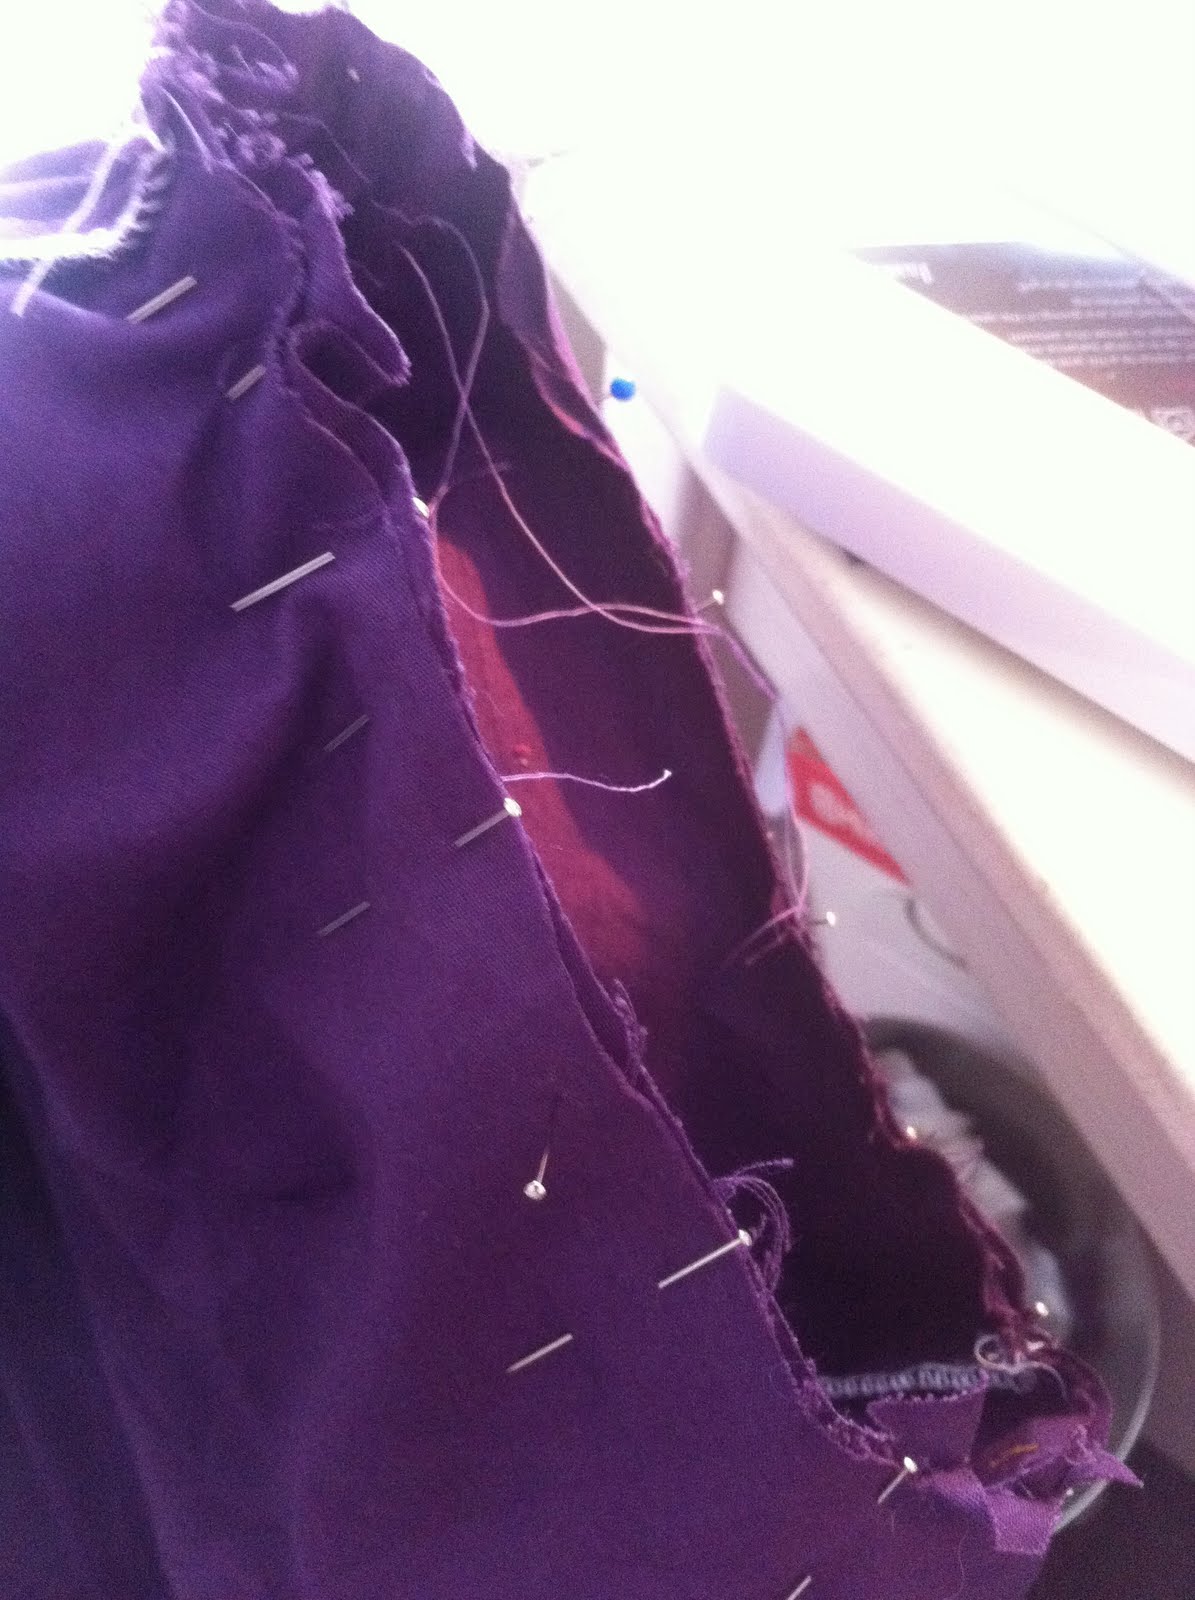
The gathers pinned to the bottom of the sleeve. (On the inside of course)
The finished seams just before hemming.
After hemming.
So here endeth the lesson my friends... I have had a blast and I hope everyone has enjoyed the sewalong!
I posted on Sew Weekly that we should do the big reveal on Thursday to mark the end of Me Made June. So please hold off on showing us your creations on Flickr until then!
This week is a busy one for me so I may need a few days to drop off the edge of the blogging world to recover. We are moving house officially on Thursday!!! In the meantime I will be planning yet more projects and grappling with my UFO's

Monday, 27 June 2011

Sewalong Palooza Post 4...

OK your almost there!
Today were all about sleeves. This used to be one of my bete noire's when I was learning but once you use the right technique they are actually pretty fun!
So last thing we did was sew our side seams of the blouse to the top and finish them,
Now we need to sew down the sleeve seam and finish it off.

Make sure your notches are the same side on each piece. and by that I mean that your double notches should be on the same side and your singles on the same side. Lay your sleeves out this way so that you can see if you've done it right. (I used to get this wrong ALL the time!)

Next. Look at the armhole and find the three markings spaced evenly around the top. Put your machine onto a longer stitch (Mine was almost on 4) and run two stitches parallel to eachother either side of the markings. Make sure you don't backstitch and leave long threads at the end. Then the fun bit! Gather these bits up.

Now its time to put the sleeve into the armhole. Turn your sleeve through so you can't see your stitching.
Then slide it into the armhole so your raw edges are on the inside of the garment. I find it easier to think of it like when you open a jacket, not sure why.

Then pin the top marking to the shoulder seam of your blouse, and the bottom seam to the blouse bottom seam. Then pin under the gathering to the armhole on both sides. The underarm shouldn't be gathered it should fit fine.
Match your notches and stop pinning when you get to the gather.
This is called easing. Gather your sleeve until you can pin it to your armhole without your armhole having any puckers. The idea is to gather so the fullness will go into the armhole.
Heres a side view so you can see the bottom is straight. Once thats done sew the armhole and sleeve together. You should have something like this.
Once you do, and its all secure, pull out the stitches of gathering you made. (If you don't backstitch they come out easily. But don't worry if you did just grab your unpicker!)
I think thats probably enough for today.
For all those ladies doing the short sleeves. Just finish that seam off, add your sleeve bands, hem up and your done!
For the ladies doing the tunic. You have one more post for the ruffle on the bottom of the sleeve.
If you opted out of that. Just hem off your sleeve and bottom hem and you are done!!!!

Friday, 24 June 2011

Sewalong Palooza Post 3...

OK So its neckline time.
This is probably the most time consuming part of the whole thing. I faffed with mine for ages and its still a teeny bit wonky... Shh don't tell anyone!
I decided to get creative on this one and I tried out some of the decorative stitches on my machine. I'm pleased with the result but if your going to do contrasting thread like me, note that it shows every tiny mistake.

Now before we go into the fascinating foray of the contrast bands. We must stay stitch the neckline. All this is, is a stitch running the length of the neckline. This just stops the it warping whilst were doing other things.
Now thats done, remember those pesky markings I hate doing so much? We need to find the one we marked in the middle of the bodice and match your center front band to it. Pin in place and make sure its straight. (Ahem not like moi.) This is where this is stitched with the raw edge folded under.
Heres mine looking worse than it does in real life. As I said I used a decorative stitch and I'm quite pleased with it.
Next up is the neckline band. I didn't get photos of me putting mine in (Doh) so heres the instructions, sew the shoulder seams then pin so the right sides of the contrast and shell are together. Then once thats stitched, flip it over. You can do a skinny hem if you want to but the stitching shows so you can turn and stitch as you sew it to the top.
Once thats done it should look something like this. Both edges clean as you caught the raw edge in the neckline when you flipped it over!
Once you've done that you can stitch the side seams together and its starting to look more like a top!
Next post we'll be dealing with putting in sleeves and your almost done!

Wednesday, 22 June 2011

Sewalong Palooza Post 2...


Today were dealing with interfacing, pattern markings, and darts.
First up is the interfacing. This is used for giving your fabric a bit of extra support and were using it on our contrast pieces.
I tend to use the Iron on variety but you can get sew in too.
Just cut your contrast pieces in interfacing the same way you did with your fabric.

Then if you have the Iron on version then... Iron away on the wrong side of the fabric.
Voila! nice neat interfaced contrast pattern pieces.
Pop these to the side and lay out your Shell pieces (The main fabric)
Now we get to the pattern markings. These are various confusing arrows and dots all over paper patterns. This was one thing I quickly learnt as a beginner. Copy EVERY dot and marking on the pattern. This may seem pointless and irritating at the start but trust me your future self will thank you.
You can use tailors chalk, or even a different colour thread to mark these. But I like to use a Frixion pen. This is a rollerball pen that disappears when heat is applied! How kool is that?
You have to be careful when your ironing but it is much easier to see your markings and you can be much more precise.
So these dots are on lots of pieces to help you match them up. Particularly on the sleeves.
Mark the size that you have cut for yourself and make sure they are nice and visible.
Next thing were going to check today is that when you cut out you marked the notches. These are little arrows in groups of one or two. If there is two make sure you cut out with two arrows showing. This will save headaches later believe me!
Now to the darts! There are only two darts on the front of the top/dress and you should have marked a triangular shape on either side. My pen is dark and won't photograph well so I've put pins where my dart marks are on my fabric.
So now we pinch in to make the dart.
Once its pinned one end should come to a point. (This is the side nearest the middle) This then needs stitching in place. At the point you need your needle to nearly come off the fabric.
Heres how mine looked once stitched.
Repeat with the second dart and then your all done for today!
Hope everyone is up to speed I would love to see some in progress photos on the flickr group!
Next post we'll be attaching the button stand and starting to sew it all together!

Thursday, 16 June 2011

Sewalong... Preparation time!


OK So we have 2 days until the start of the Lisette Sewalong. I am super exited that its time to prepare your fabrics.
Whatever your using remember to pre-wash! Then Iron out the fabric. I am using poly cotton so I have pre-washed on 40 as I would do a normal wash. When I did my previous post about Pre-washing. people gave some fab advice. The one I now use is putting an old towel in so that if the colour bleeds its absorbed.


The pattern is simple and requires only 7 pieces! Depending on what version you are doing of course. All versions allow for contrasting fabrics if you want them. It is optional though.

On my first version I chose not to. But on my Version C I will most definately have contrast!
Hopefully I will be making Version C and Version E. So I can help out those who want a tunic style with long sleeves and others who just want the blouse version with short sleeves.
I think both will be equally as useful in my wardrobe.
Version C

Version E
Here is my fabric I will be using for Version C
Dark purple cotton and mint and white spot for the contrasts. This is a great way to use up scraps!
Hope everyones ready!!!

Wednesday, 15 June 2011

Not one finished but two!...


Yay I got around to hemming the Sunny, Funny Girl top! I also sucked it up and got around to putting the loops and buttons on my Viola top (Not to be confused with my Violet top which is still on the UFO pile.)
I'm wearing SFG Today! For MMJ Day 15
Still so far so good with MMJ, I'm still wearing different things each day but I'm starting to feel sorry for my skirts! I don't wear them enough as they are a bit wintery. I think if I do Self Stitch September then I would get more wear from them. I'm in need of comfy cotton skirts to go with leggings I think!
Here is yesterday when I wore my Mona Skirt
Day 14. Yesterday I did lots of sorting out and cleaning the kitchen. Which didn't require a very exiting outfit. Not to mention watching Monarch of the Glen repeats and sewing on some little pearl buttons to Viola.
Here she is. I have to admit I haven't got the loop thing down yet. I'm going to wear it tomorrow with a white vest underneath as the upper bust pulls when the top button is done up.
I prefer it worn open anyway It isn't an uncommon problem for me with RTW tops.
It looks like there is some excess fabric that could be put into the side seam. At the moment when I move it gives me the droopy boob effect. This was only a wearable muslin though and I will wear it! I have the duck egg blue version in the process so I can be aware of it.

Don't forget to sign yourself up to the Flickr group for the Lisette Sewalong and show us your fabrics!
Hope your having a great day!

Tuesday, 14 June 2011

Sewalong Flickr Group is UP!!!


Hello!!!! I have finally set up the Flickr pool group for the Lisette Sewalong. I would love it if we shared our fabric before we start. Partly becuase i'm nosey and partly because Its nice to see it before the finished product. Makes it all the more exiting I think!

Lisette Sewalong Flickr Group

I thought I'd show you a few that i've already seen made up in lots of different ways.
*Ladies, I've tried to credit everyone, if this is your photo and you don't want it up here please send me a message and I will take it down.

This is Lisettes fab version! I love the idea of a full single print!
Mary's version is very simple Chanel styled.
Farah even added a little peter pan collar to hers!
I hope thats whetted your appetite! I can't wait to see everyones fabric!!!

Monday, 6 June 2011

Life Can Get In The Way...

This is going to be one of those months I fear...
We are moving out of our house by the 11th of July a few days earlier than we had anticipated so we are in a mad rush trying to pack and clean our house from top to bottom, as well as find another place to live.

Not to mention I have an essay and exhibition review due in by Friday Argh!!!!
This week might be a bit quiet on the blogging front. I'm going to be posting my Me Made Junes on the Flikr as well as on here in 3 day stints hopefully.
Here is Day 5 for now though!
This is my Etta Cardigan with a Skirt from White Stuff, the top is from Kaliko and the shoes are Moshulu. (This was taken in a rush to get to lunch with Piemaker's family.)

Don't forget the sewalong for the Market Blouse is starting on the 20th! It should only last a week as it is a super quick top to sew up.
I will set up the Flikr group and stuff next week, So we can see how everyones prep is getting on! It would be great to see everyones fabrics before they are made up too dontcha think?

Thursday, 2 June 2011

Onwards!


Today has been a day of meh-ness. I got all exited that I had fully lined my beignet with no problems. But alas! Twas not true, I've either lost a piece in translation or I have sewn it to another piece and it is therefore trapped in the lining. Doh.
Look there is even a Butt pocket! In the wrong damned seam.

Anyway that was thrown on the floor in a fit of rage...
Heres my MMJ Day 2 outfit. This is my market blouse that I will be doing the Sewalong for on the 20th of June! (Me and Piemaker have been working on the button and stuff for this!) This is paired with cheap RTW sailor trousers from Dorothy Perkins or something that I cut into shorts. Bit boring but I've only been sewing today and it required comfort!
So Once I had calmed down and ignored my Beignet I grabbed my Kona cotton (in Curry colour, plain yellow) Then stopped myself. Not wanting to waste a good quality plain fabric when I was mad. But I needed to make something new and craved something happy and yellow.
I grabbed my Amy Butler fabric I bought at Sewing For Pleasure Aeons ago and grabbed McCalls6011 (My Pearl dress was made from this) and chopped it into a top.
I literally LOVE the result. I was worried about wasting the fabric but I'm pleased I cut it! I just need to make some facings and finish off the seams. (To add to my distress my overlocker ran out of white thread!) Here's a sneaky peek. Pie maker is out galavanting so yet again I am forced to take my own damned photos.
Literally LOVE this fabric...

Tuesday, 17 May 2011

Today I've been a busy bee...


You should have all seen how fast I moved when I heard the post come through the door this morning. I had been expecting my Colette patterns.
The fabric was sat waiting for these beauties and aren't you proud of me? They are separates!
I decided I didn't really like the look of the new skirt Ginger, and I had been waiting to get the Beignet for my purple needlecord.

Both have got buttonholes! So I'm going to push my skills, but the upside? I get to buy buttons!
While I was waiting I started cutting and transferring the uhh... Extensive pattern markings onto my wearable muslin jeans. They deserve a whole other post for another day...

This is the needlecord and the fine Mustard cotton I got at Goldhawk, See I said I'd find a use for it! I love this colour combo I might even get mustard buttons for it! I will sort a mood board out and stick it on the list. I have pre washed the fabrics all ready to cut when they are dry.
Another thing I have been up to today is getting on with my oldest UFO from last year. Remember this? Oh Yes its the Parisian Dress... I have blogged about this failure three!?! times. In the end after talking to Charlotte T at the blogger meet up I decided to cut my losses and make it into a tweed skirt. I did the hacking and made the waistband today so just a zip and hem and voila new skirt for MMJ!
This is not all that I did today! Oh no my friends. I cut a total of 3 things out and prewashed a load of fabrics ready for cutting too! Its all about the bulk in my house at the moment!
There would have been more making but I don't have any lightweight interfacing and almost every project I have going requires it, as well as a few various threads. So a trip to the shop and we will be on our way!
Heres a sneaky peak of what was on the line...
and an even sneakier peek at all the things at various stages of completion. How many can you count?
I'm still thinking about the giveaway... But I am also thinking about doing a sew along maybe in just over a months time? Who is up for making the lovely Lisette Market blouse?